Product Recipe
SandStone™ Inspired Finishes
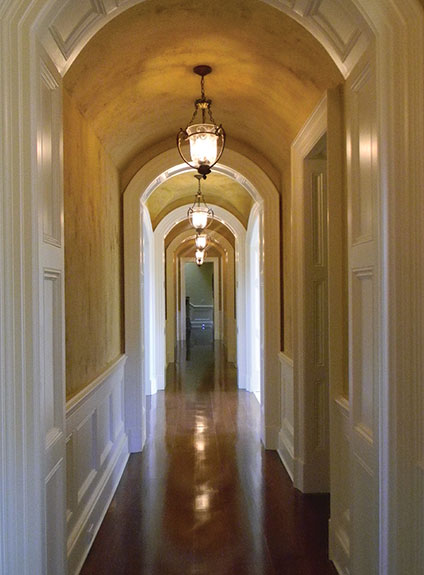
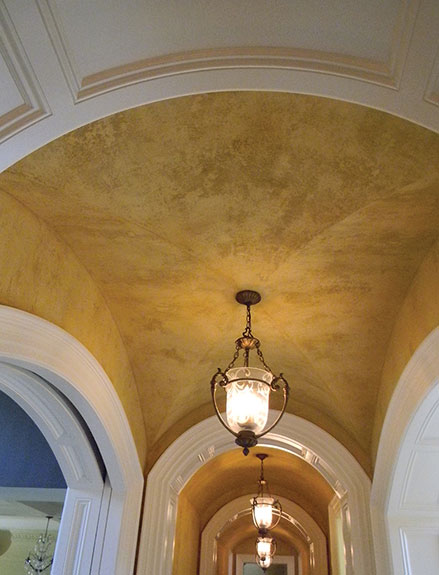
As a well-trained finisher of Faux Effects® products and many years of perfecting my trade, again, I say there is no job we do not get! It’s because of our thorough knowledge of materials. As an artist in our trade, you know you can’t afford not to be prepared for an estimate. With the knowledge/power I have with these products, I know exactly; it’s like sometimes the walls just screamthe product to use on them. So, let’s look at an oldie but a goodie SandStone™, with so many techniques, so many looks, I thought I would share some of our jobs and recipes.
Faux Effects® Products:
Neutral White SetCoat®
SandStone™
Glaze and Tint
Tools & Supplies:
Whizz-type Roller
Pounce Brush

Step 1:Make a sample Neutral White SetCoat® Roll out a board; let dry
Step 2: SandStone™: Stir it well, add about 20% water, stir well. With a Whizz-type roller, massage material around roller. Roll out SandStone™. When reloading, the most texture will be left off on substrate, so use nice composition between reloading. Always roll out material prior to reloading. This particular technique is a vertical design. So, when rolling material out stay vertical. Use a chip brush to get into tight areas at baseboard or ceiling. Let dry.
Step 3: Make a glaze using FauxCreme® Clear or AquaCreme™ with FauxCreme Color™. You may spritz substrate with water, since SandStone™ has been known to be porous, but your glaze mixture should still move. With a Whizz-type roller, apply glaze to the wall in a vertical pattern. With a pouncing brush, blend out the glaze to the effect your striving for; you can offload with a rag if you have too much color on the wall. Let dry.
This is a timeless finish. The best part of this technique is that it’s marketable! It’s fast, and it’s stunning.

Finish Courtesy of: Diane Corso
FauxEver Beautiful Studio, Inc.
Bensalem, Pennsylvania
If you enjoyed this article, send
it to your friends on Facebook!

