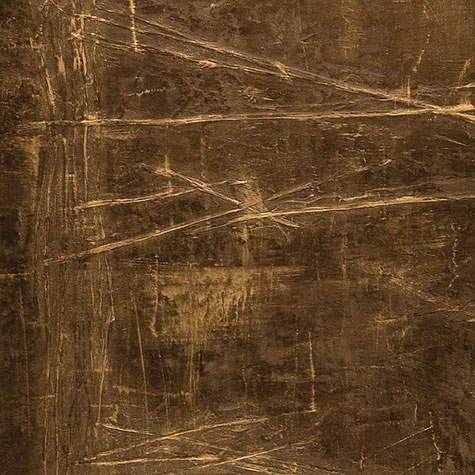
Product Recipe
Tribeca II
by Bob & Mike Hoppe
Materials for Tribeca II:
Raffia ribbon, natural color (on the spool raffia seems to work best)
SetCoat® Clear
Weathered Bronze LusterStone®
Rich Gold StucoLux™ Metallic Metal
Designer Metallics™ Silver Concentrate, Rich Gold Concentrate (optional)
Tools & Supplies:
Trowel
Sponge brush (or roller for large areas)
Foam brushes
Chip brushes
Paint roller and tray
Latex gloves
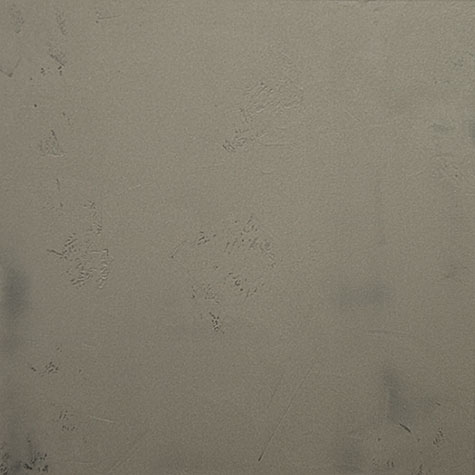
Step 1: (Optional) For added dimension, apply a skim coat of Weathered Bronze LusterStone® with a trowel. “Toe-tap” on and off the surface in random areas and knock down to smooth with a trowel. Allow to dry.
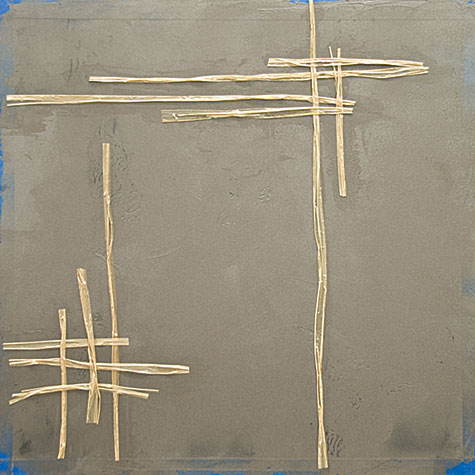
Step 2: Cut raffia ribbon into various lengths of strands. Working one at a time, immerse the ribbon into SetCoat® Clear and remove excess with gloved hands. Apply to the surface in pattern of choice.
Step 3: Brush or roll entire surface with a coat of SetCoat® Clear to seal in ribbon. Allow to dry.
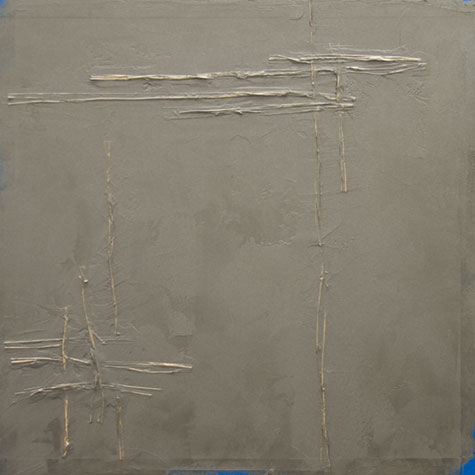
Step 4: Apply a skim/skip coat of Weathered Bronze LusterStone® with a trowel covering 100% of the surface making sure to embed the ribbon. Allow to dry.
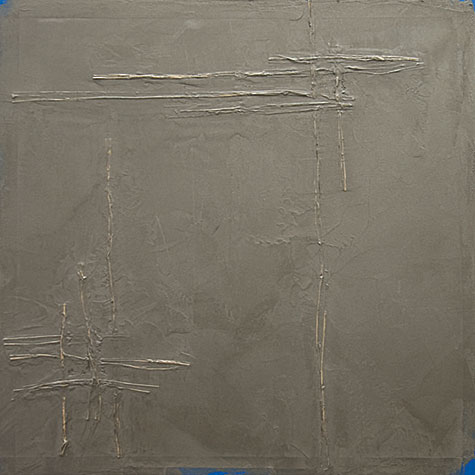
Step 5: Apply another tight skim coat of Weathered Bronze LusterStone® and create depth of color. Allow to dry.
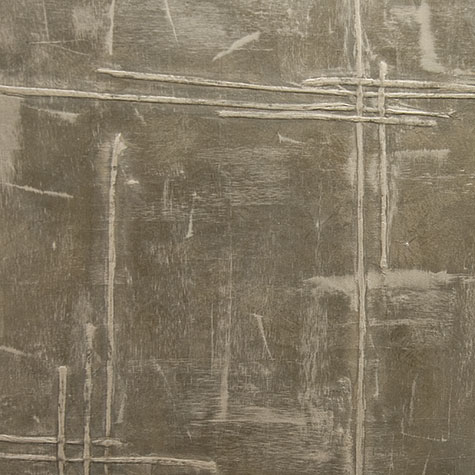
Step 6: Mix a small amount of Designer Metallics™ Silver Concentrate into Rich Gold StucoLux™ and lightly dry brush the surface with a foam brush, highlighting the ribbon patterns and creating vertical and horizontal lines over surface. Allow to dry.
Special Note: Measurements are approximate. Adjust as needed. Your sample may vary in color and texture.
Finish Courtesy of: Bob & Mike Hoppe
Faux Masters Studio
Yorba Linda, CA
If you enjoyed this article, send
it to your friends on Facebook!

