Transfauxmations
Too much fun!
Sometimes, the best projects fall into your lap, and this was one of them. One of my girlfriends had been talking about updating her home for a long time, and finally, she was ready. She asked if I would be willing to take on the whole job acting as her coordinator (for lack of better word). Of course,my answer was yes, because NO is not in my vocabulary!
I decided to start this project with materials that would not be changed out anytime soon, so, we went shopping for tile, granite and carpet. What fun it is to spend someone else’s money—woohoo! Debbie was so easy to work with; not only are we friends, but she makes decisions and sticks with them, and she listened to my suggestions and input. This project was on its way to a great start, and now it was my job to figure out the procession of the work so as not to disturb Debbie’s life too much. With having only two bathrooms in the house, we could only gut one at a time – have to have one functioning bathroom at all times!
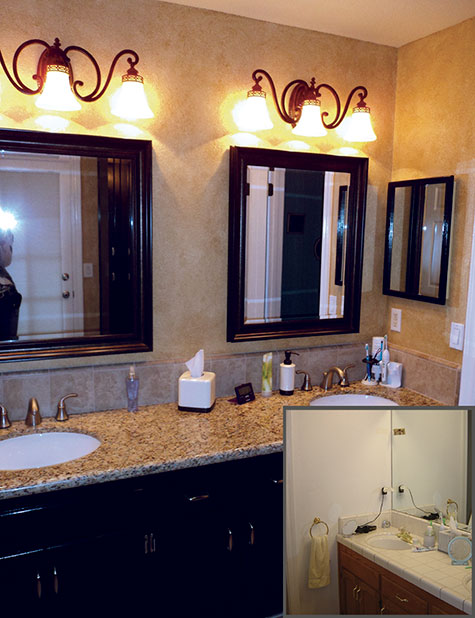
With the decision to start the remodeling in the master bathroom, I finished assisting Debbie with all the additional items needed for the project—sinks, toilet, faucets, mirrors, towel bars, etc. Then, it was time to start designing the layout of the tile for the shower and floor. The tile contractor and I met several times and provided Debbie with several drawings to choose from. Debbie made a decision very fast, and we were on our way with the re-do of the master bathroom.
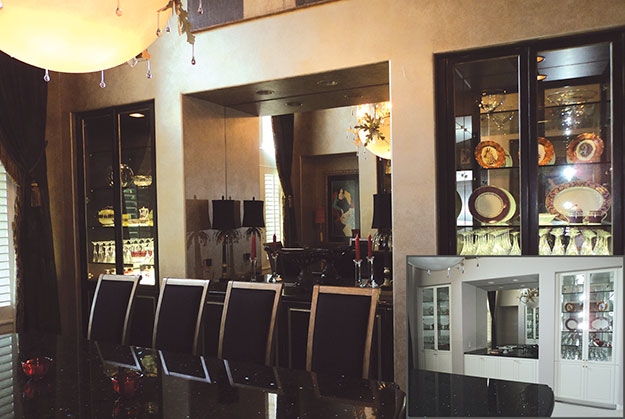
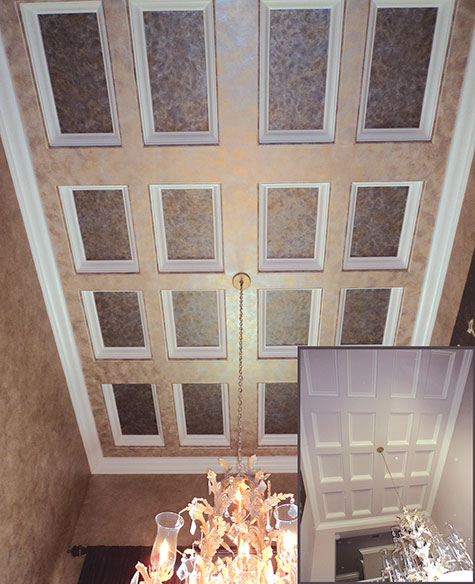
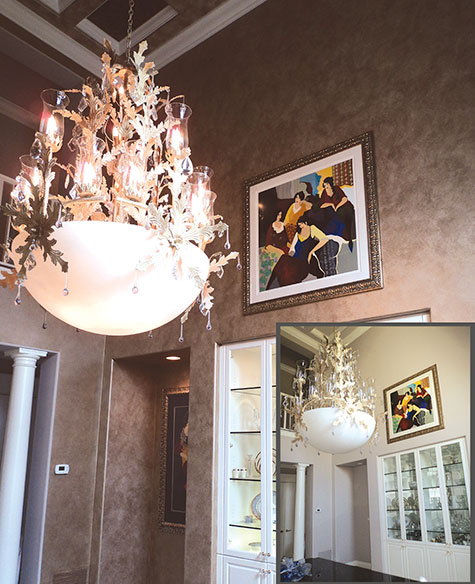
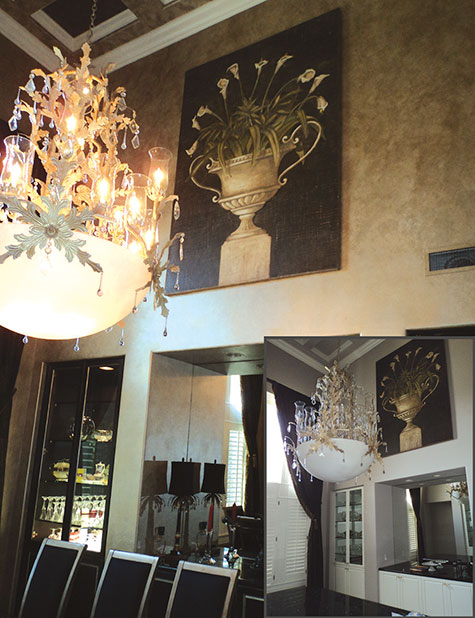
As the master bathroom was being redone, I started painting all the walls and ceilings in the great room, office, entry and hallway (yes, I’m a painting contractor, and I do just paint). We picked a color that would go throughout the entire home for a nice flow. As the painting was being done, I started working on samples for the bathroom cabinets and walls. I love it when a client chooses a finish that’s not the typical umber glaze over an off-white base. Debbie went for a more dramatic finish; this is myTuscan Nights finish that I just love!
I painted all the cabinets in her house with the same finish using Black, Camel and Brown SetCoat®, FauxCreme® Clear, Black FauxCreme Color™, Activator II™, AquaGard and Varnish Plus. All the cabinets in the kitchen, laundry room, guest bathroom and master bathroom—that was a lot of cabinets! I also created a very soft FauxCreme® gold glaze finish for the master bathroom walls.
Once the master bathroom project was complete and Debbie could move back into her bathroom, we started gutting the kitchen and guest bathroom at the same time. I was really trying not to tear up too much of the house at once, but at this time, the great room, office, entry and hallway were all painted and had new carpet installed.
Debbie created a make-shift kitchen in the office area, and everyone moved into the master bathroom while I was off working on the rest of the house. In the kitchen, I applied a very light FauxCreme® gold-toned glaze using a simple softening technique on the walls.
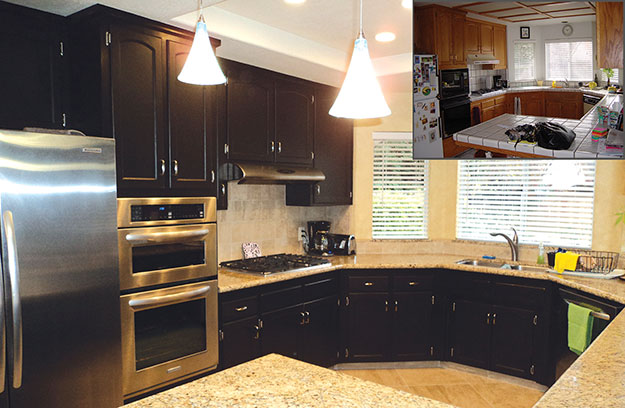
I also assisted Debbie in picking out all the new appliances for the kitchen, hardware for the cabinets, light fixtures, and even down to the final details of picking out towels for the bathrooms. Again, spending someone else’s money is just too much fun!
Debbie is so thrilled with the transformation of her home that she continues to go shopping, buying new furniture for the great room, dining room table and chairs, and even office furniture. This house looks amazing!. Debbie is a great friend and client to work with and after this project, we are still friends!

DECORATIVE ART BY: ARTISTIC PAINTING STUDIO
PHOTOGRAPHY BY: JENNIFER FERGUSON
WRITTEN BY: JENNIFER FERGUSON
If you enjoyed this article, send
it to your friends on Facebook!

